Nail art divides cleanly into two groups: designs where a tool does the work, and designs where a hand does. Almost everything people assume is advanced sits in the first group. Marbling, blooming florals, aura fades and foil are all chemistry or gravity doing the drawing while you place things.
Everything below is ordered that way, easiest first. If a design is genuinely hard I have said so rather than pretending a beginner will nail it first try.
A dotting tool, a fine striping brush and a roll of striping tape. Under fifteen dollars together and they cover every design here except the ones that need gel and a lamp.
A cocktail stick works instead of a dotting tool and a cut-down eyeliner brush works instead of a striping brush, so you can try the whole list before buying anything.
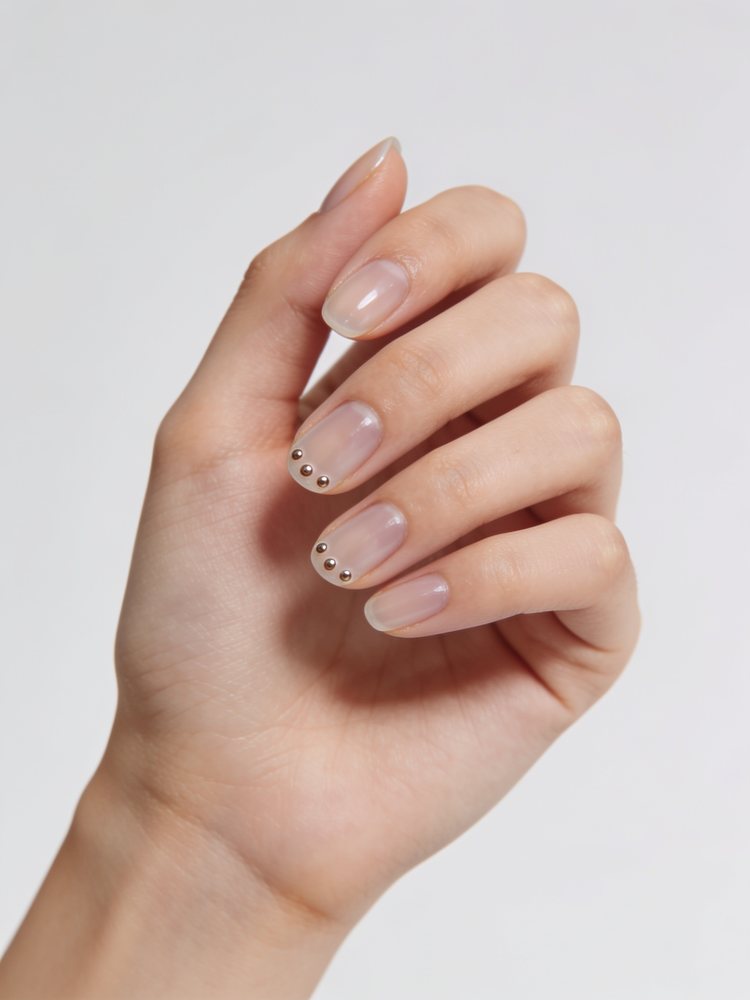
Scattered micro dots
Three or four tiny dots near the free edge on a sheer base, placed with the tip of a dotting tool. The smallest design that still counts as one.
Uneven placement is what makes it look deliberate. Evenly spaced dots become a polka dot pattern, which is a different and harder look.
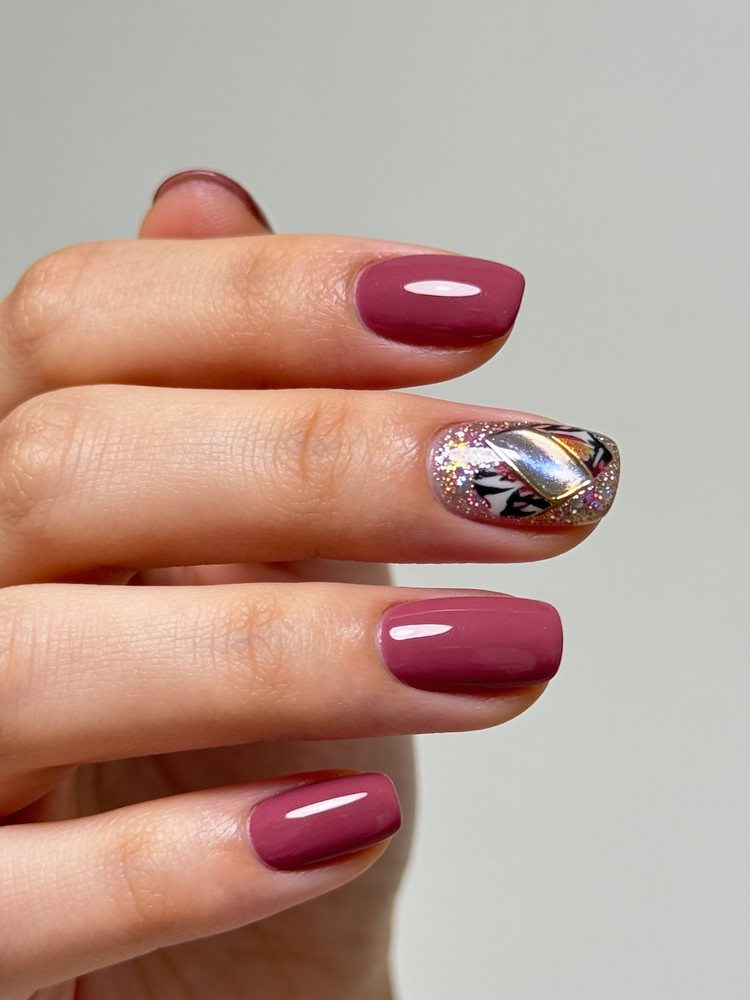
Single accent nail
Nine nails in one clean colour and one doing something loud. Glitter, chrome, a print, anything.
Put the loud one on your index rather than your ring finger if you want it visible in photos. Most people hold a hand with the index highest.
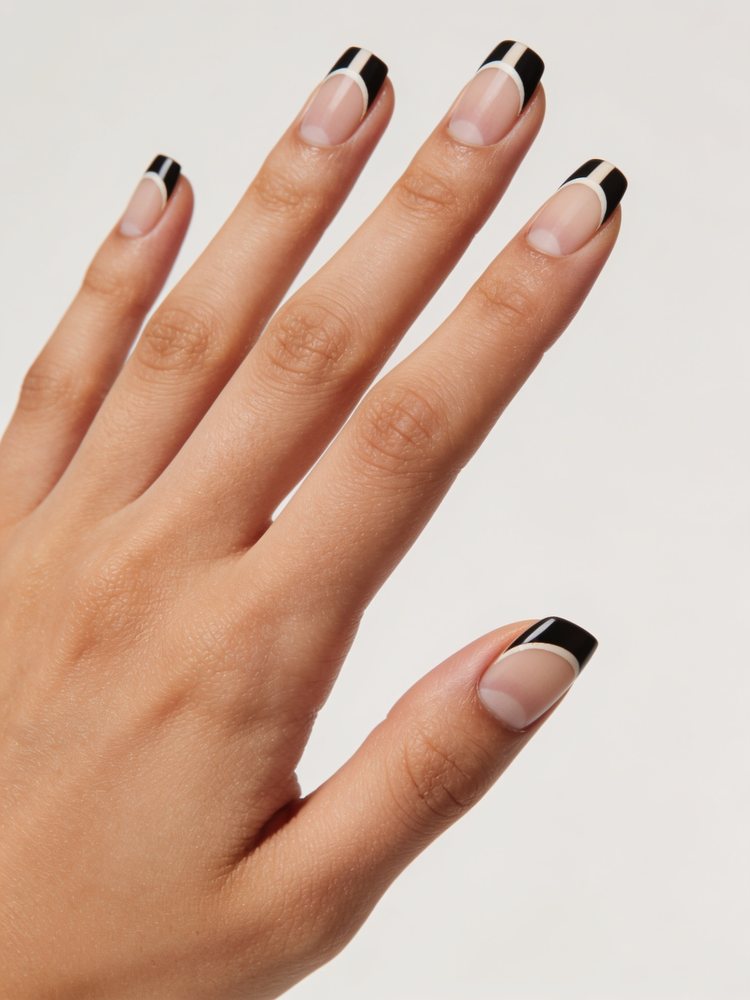
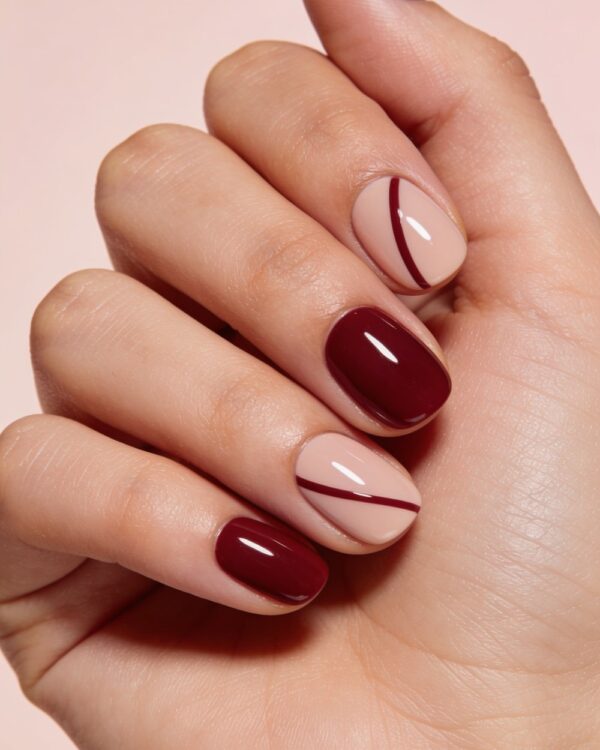
Negative space stripe
Two lengths of striping tape leave a bare stripe down the centre of a painted nail. The bare part is the design.
Peel the tape while the polish is still tacky. Dry polish tears at the edge.
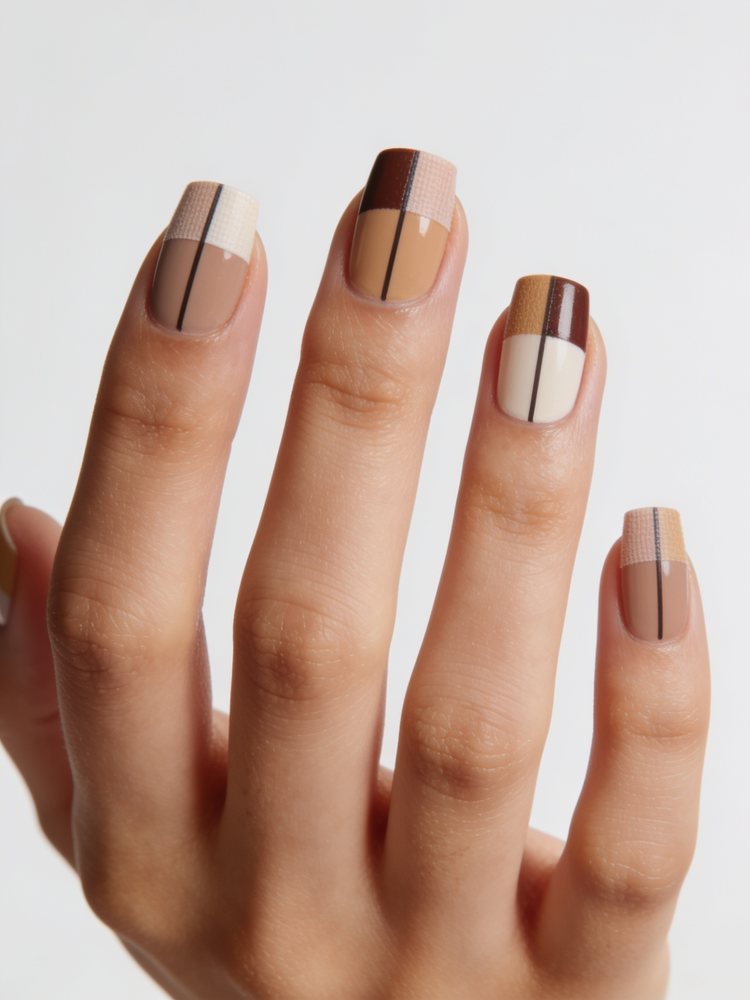
Colour block halves
Paint the nail, then paint the top half in a second colour against the edge of a piece of tape. The tape draws the straight line for you.
Two shades from the same family read as design. Clashing halves read as an accident.
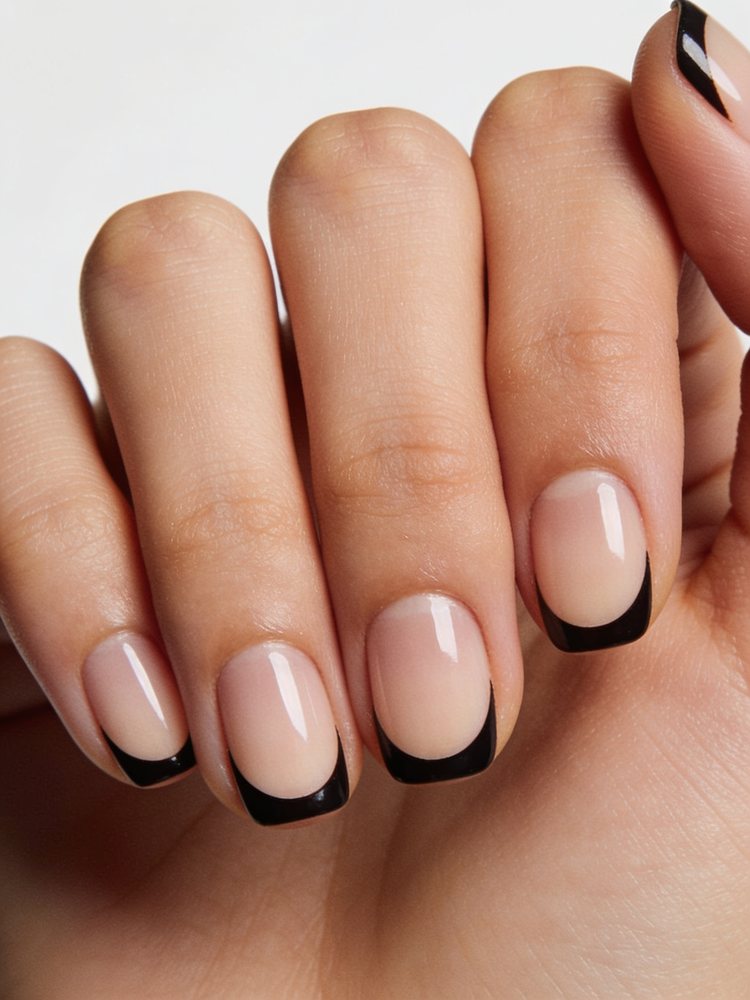
Half moon
A contrasting curve at the base of the nail instead of the tip, masked with a reinforcement sticker or the edge of a hole punch.
It grows out better than anything else on this list, because new growth appears inside the shape.
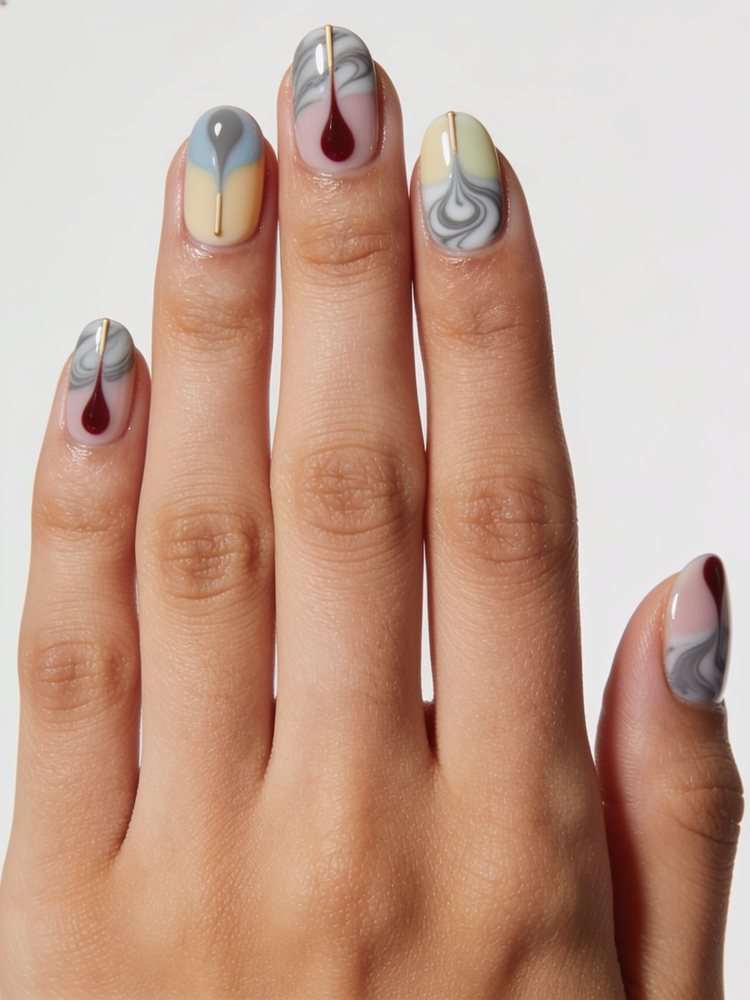
Cocktail stick marble
Drop two colours onto a wet base and swirl once. Once. Every extra swirl takes it further towards grey.
Work one nail at a time. The base has to still be wet and it will not be by the time you have painted five.
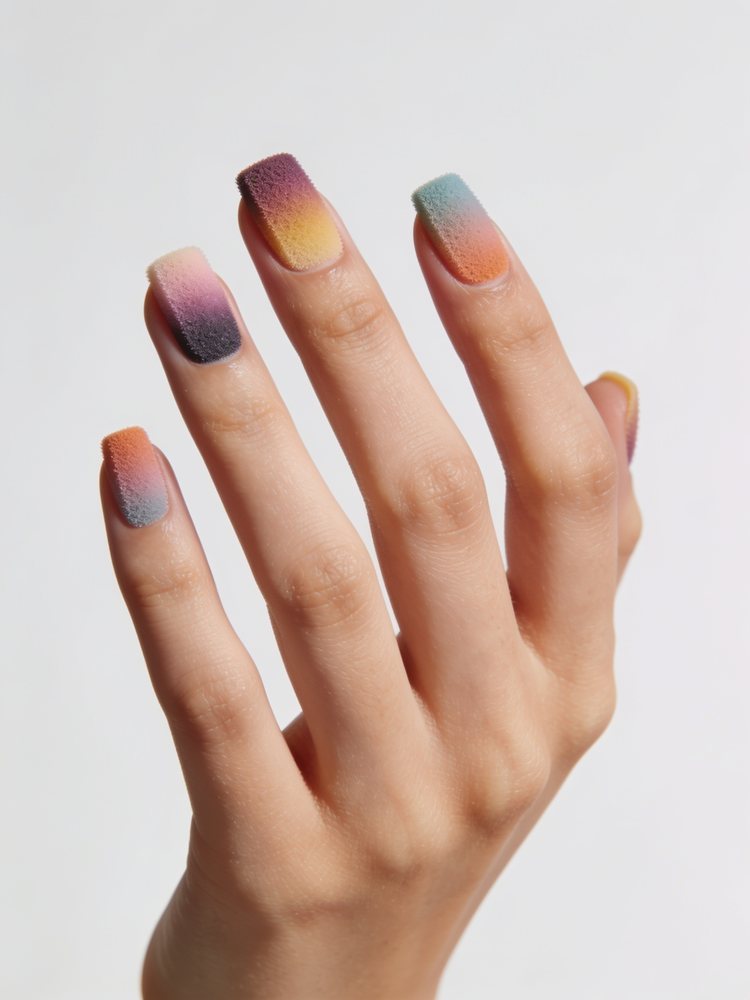
Sponge ombre
Dab two colours onto a makeup sponge and press it repeatedly onto the nail. Messy process, forgiving result.
Press more times than feels necessary. The blend appears in the last few presses, not the first.
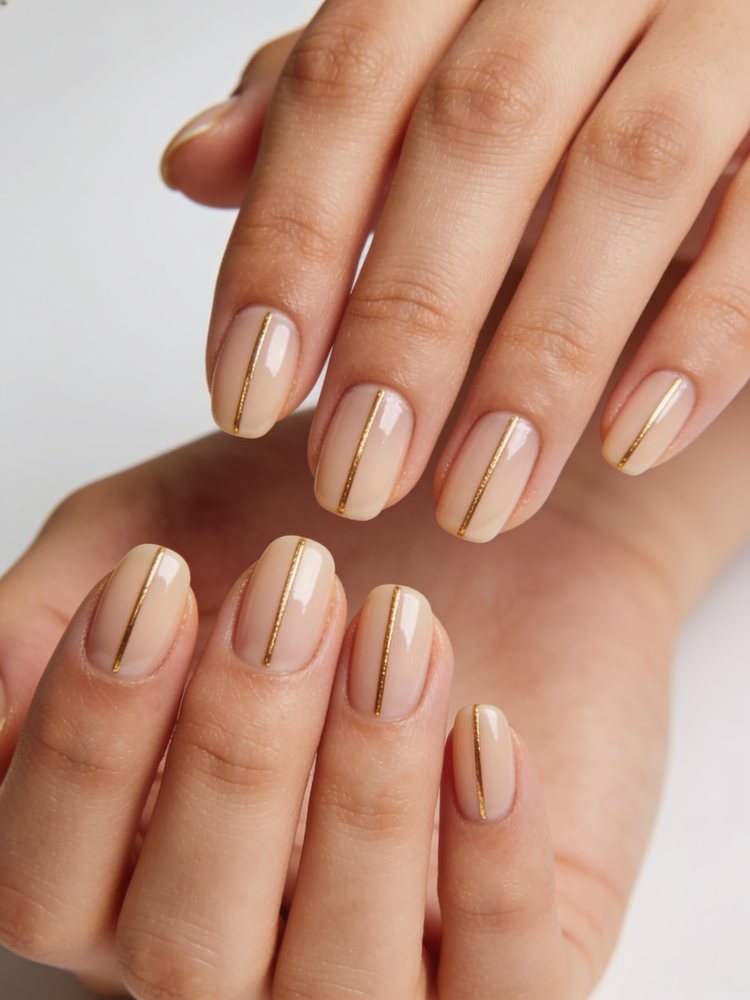
Gold micro-line
A single hairline of gold striping tape running the length of two nails.
Lengthways makes the finger look longer. A line across the nail does the opposite.
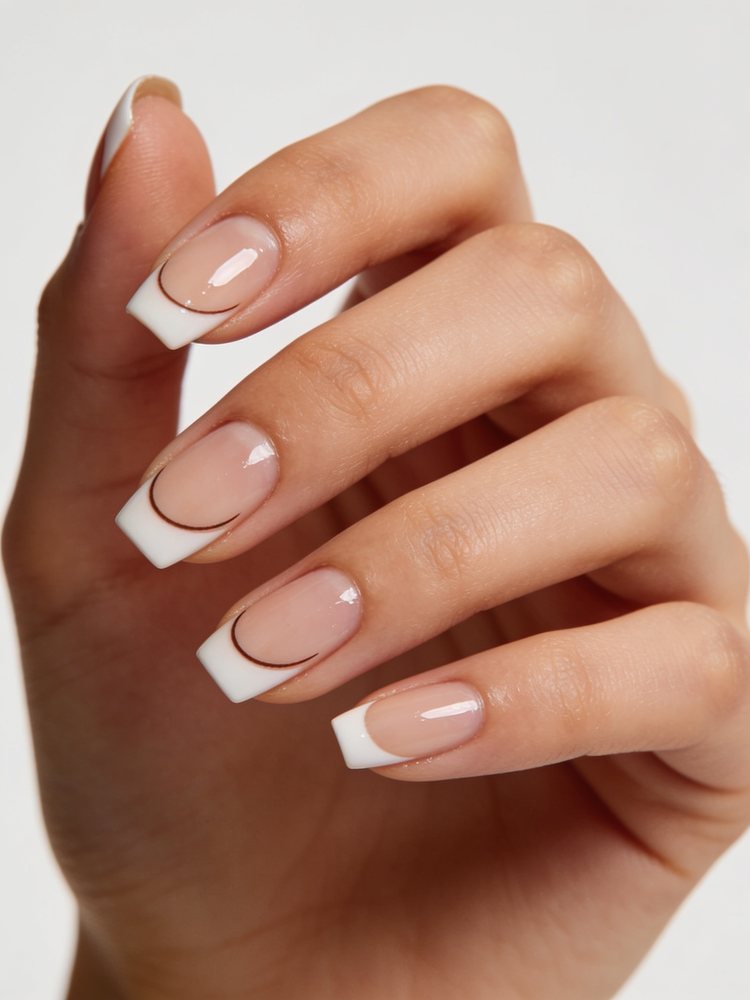
French tip with tape
Curved guide stickers give you a smile line without freehand. Paint over the top, peel while tacky.
Thin is more modern than deep. A millimetre reads current, three millimetres reads nineties.
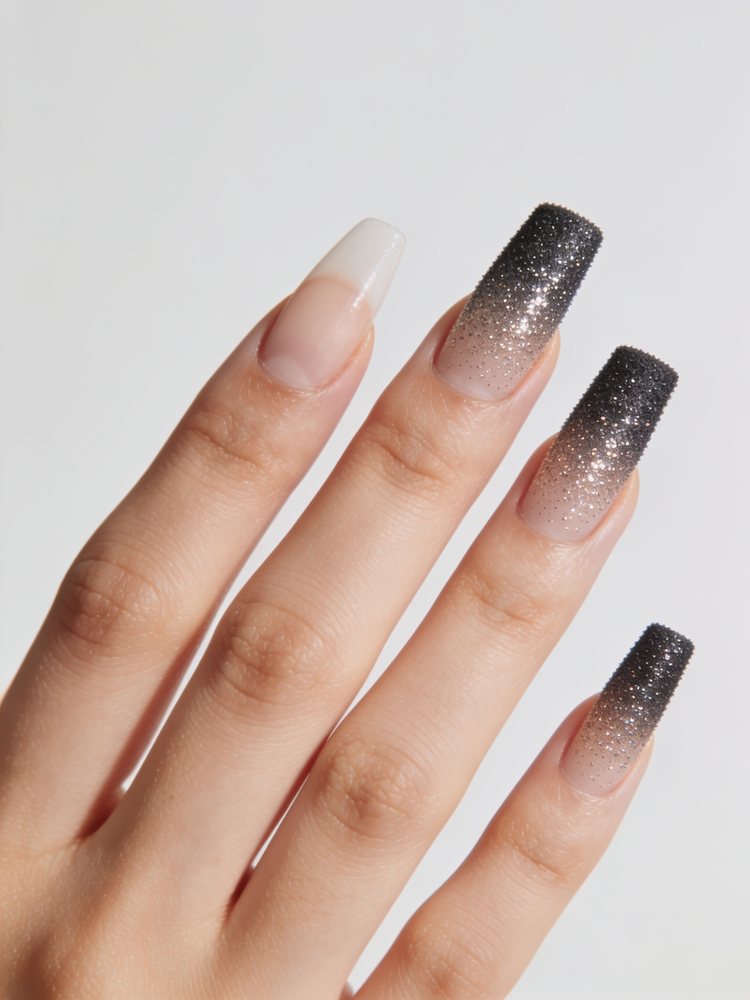
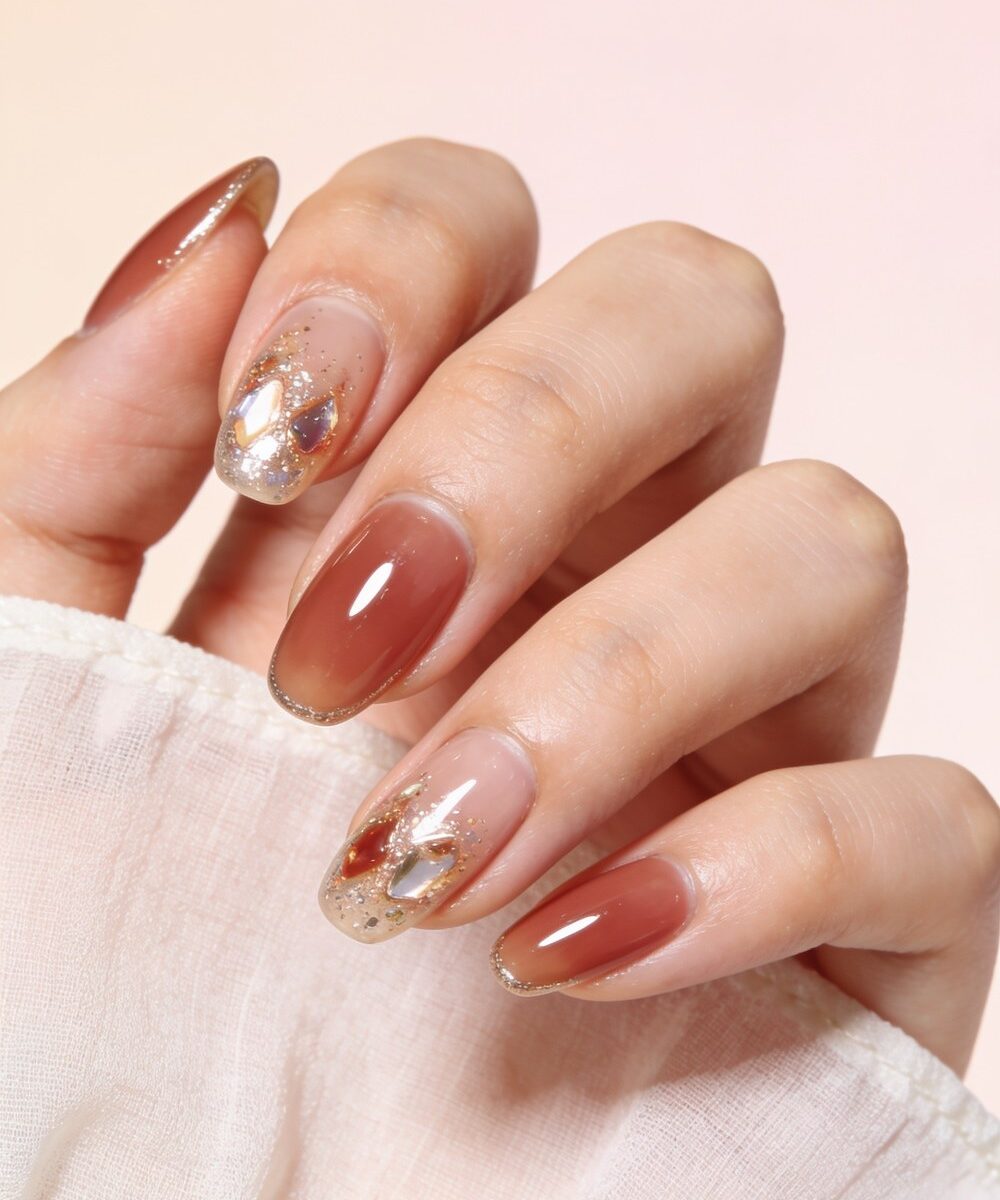
Glitter gradient
Build glitter density from nothing at the cuticle to heavy at the tip, in three passes with a sponge.
Use a thick topcoat afterwards. Glitter has texture and one coat leaves a nail that snags.
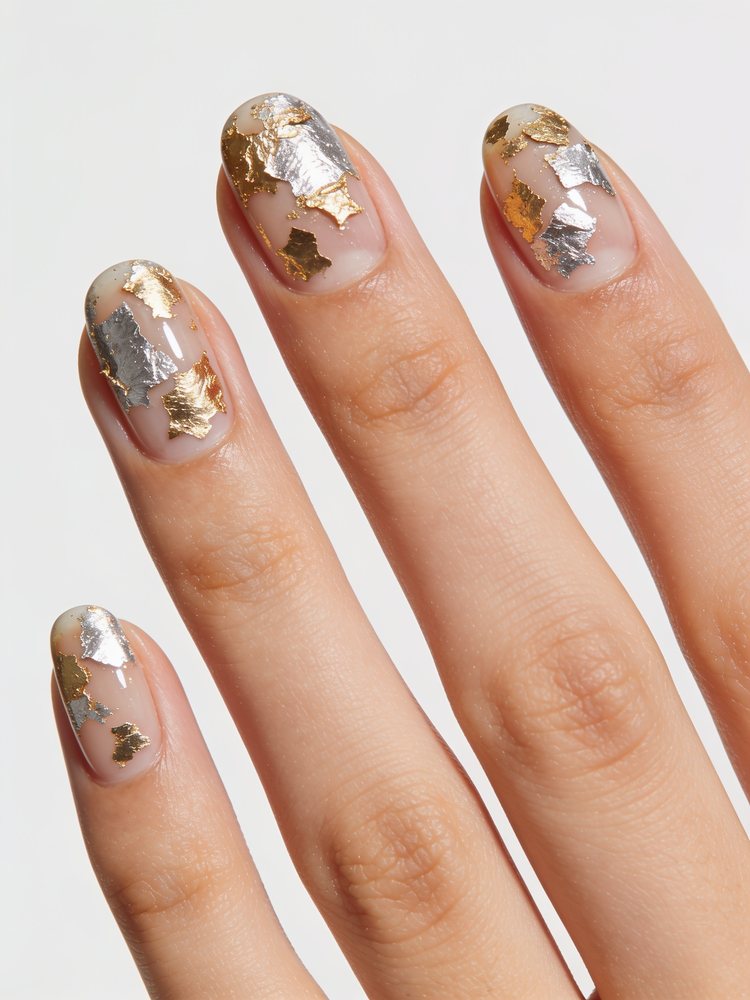
Foil flecks
Torn scraps of gold or silver leaf pressed into a tacky topcoat. Irregular is correct.
Two topcoats, same reason as glitter.
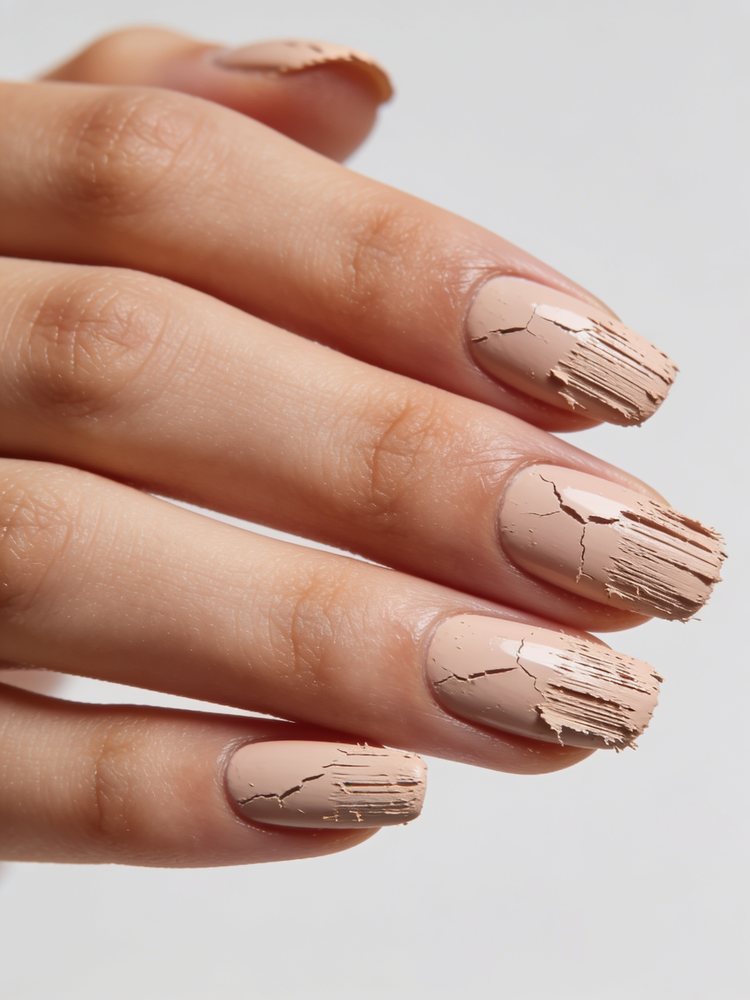
Dry brush texture
Wipe most of the polish off the brush and drag it across the nail so it leaves broken streaks.
Works best with a metallic over a matte base, where the contrast makes the texture read.
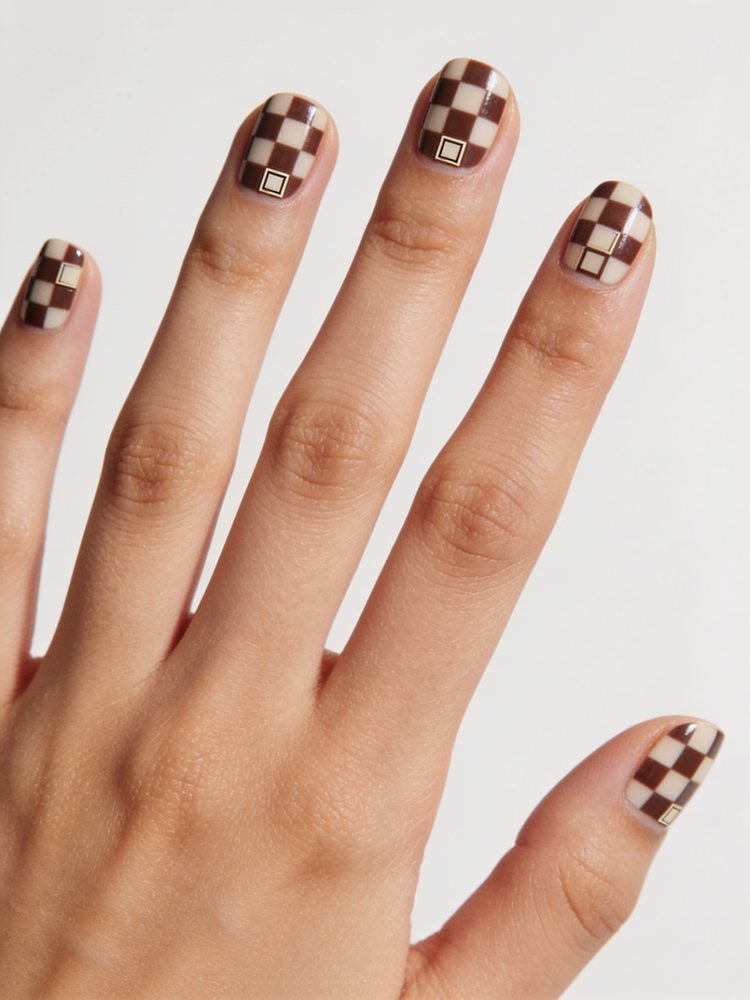
Checkerboard
Small squares on one accent nail, the rest plain. Small is the point. Large squares look like a novelty.
Draw the grid lines first in the lighter colour, then fill alternate squares.
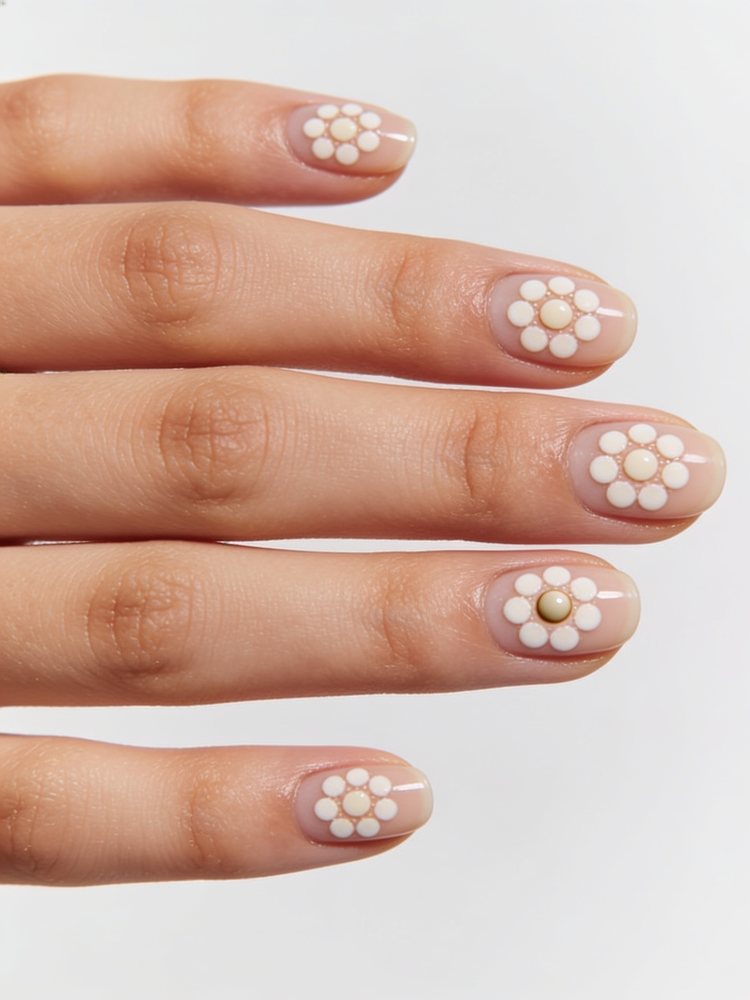
Flower dots
Five dots in a ring with a sixth in the centre. That is a flower, and it works because nobody looks closer than that.
Place the centre dot while the petals are still wet so they bleed together slightly.
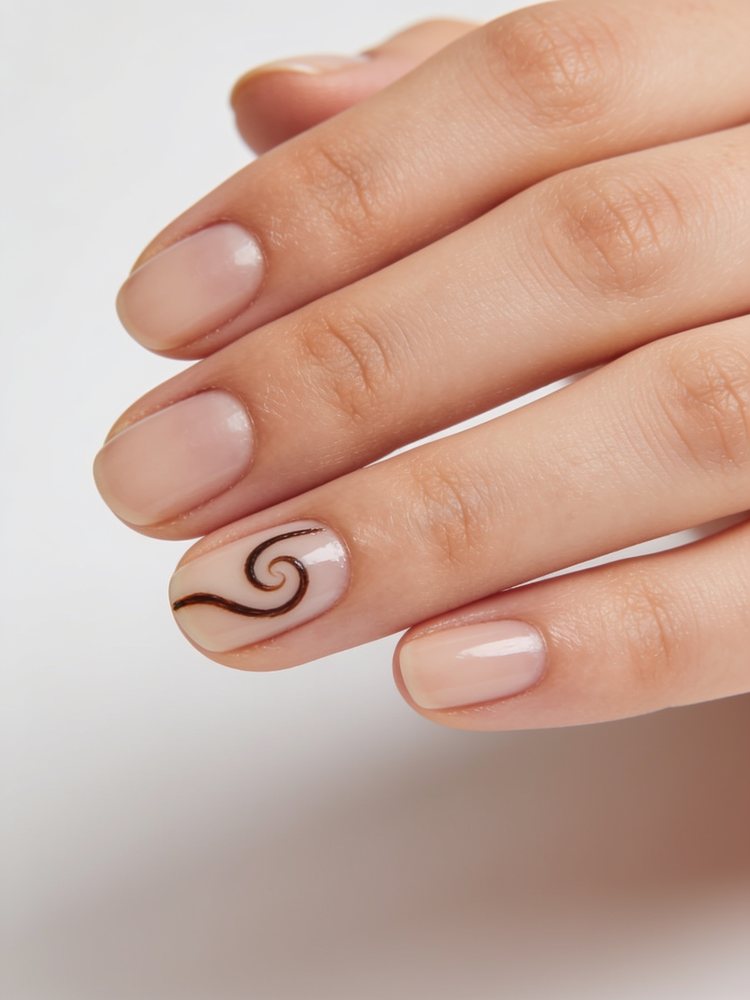
Abstract swirl
A single freehand curve of colour across an otherwise bare nail, drawn with a striping brush in one stroke.
One stroke. Going back over it is what turns a swirl into a smear.
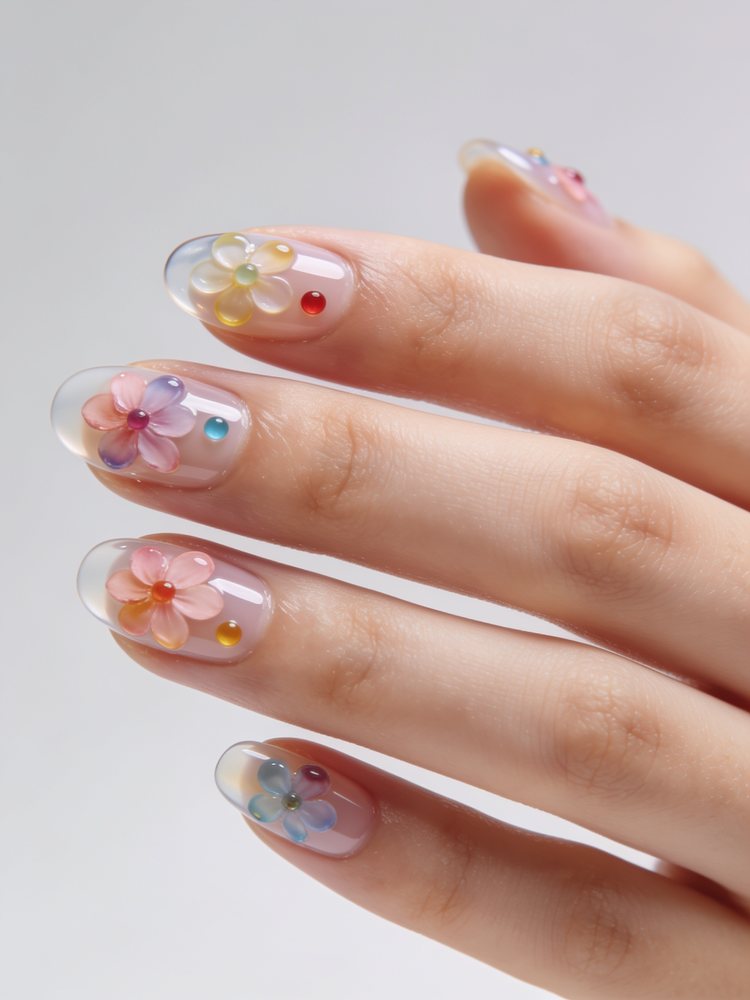
Blooming gel florals
Dots of colour dropped onto a wet blooming gel layer spread into soft petals by themselves.
One colour family only. Multiple colours meet in the middle and go muddy.
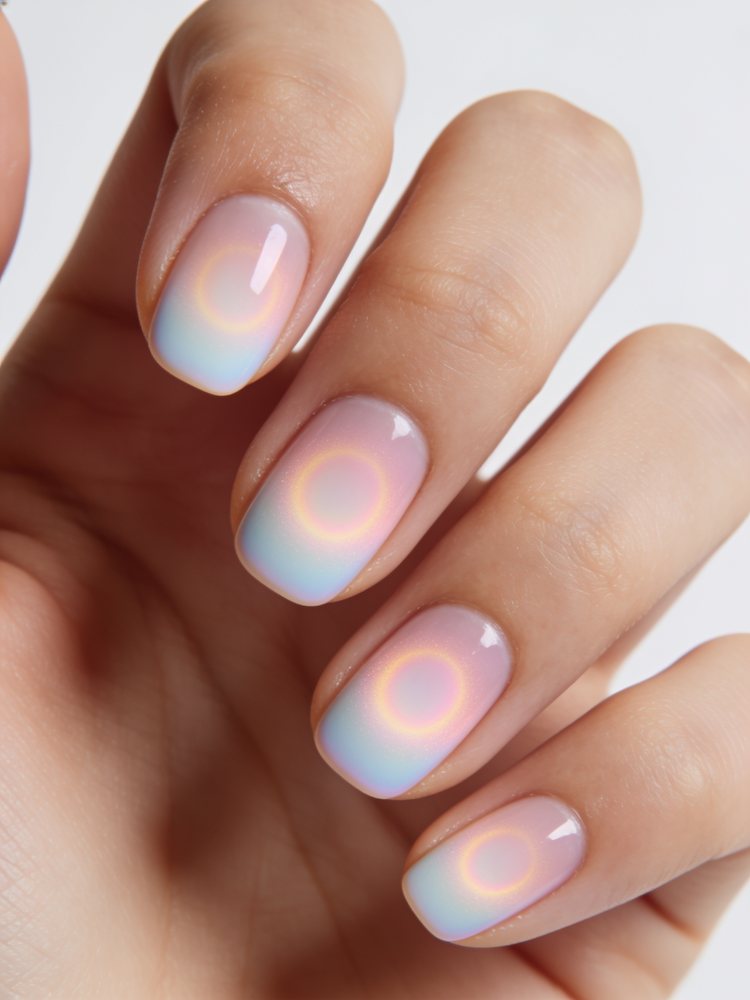
Aura fade
A soft halo airbrushed into the centre of each nail, fading out before the edges.
The edges have to disappear completely. Any visible boundary and it stops being an aura.
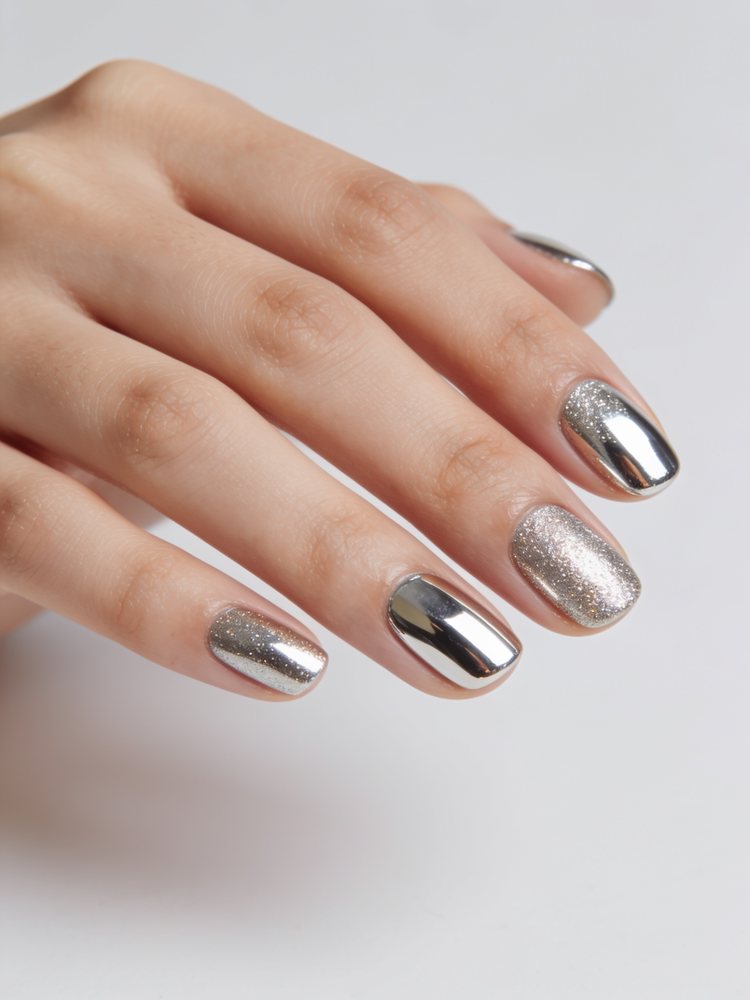
Chrome mirror
Chrome powder buffed over a cured gel base and sealed with a no-wipe topcoat.
Needs gel and a lamp. There is no home version of this that holds.
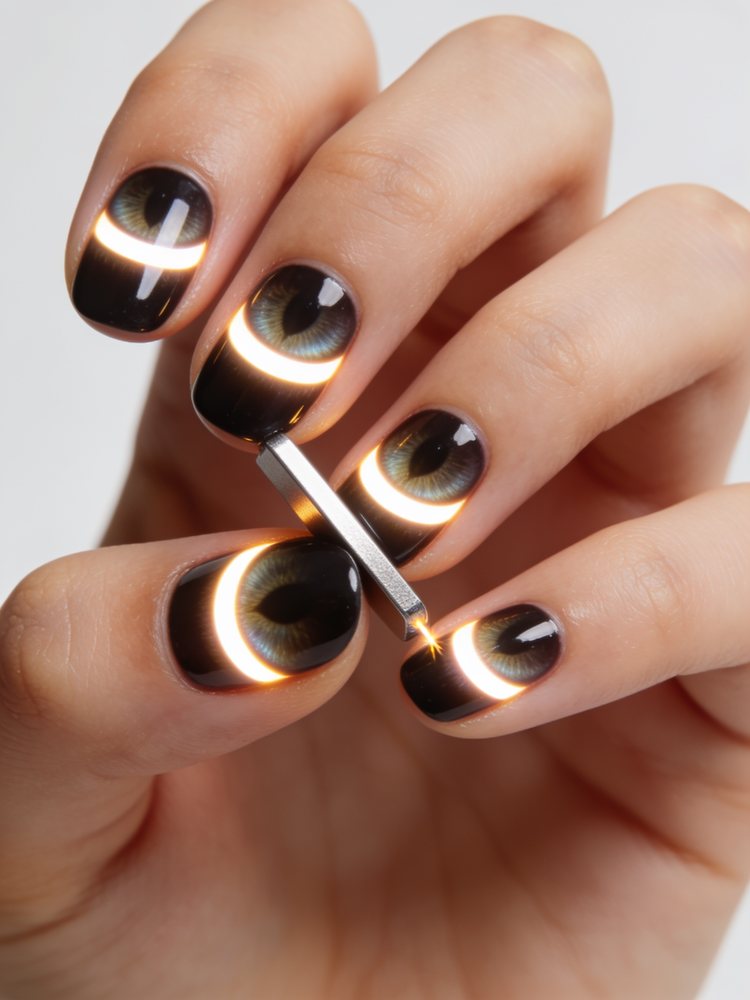
Cat eye band
Magnetic gel pulled into a bright band with a magnet held at an angle for ten seconds.
Ask for the band diagonal rather than straight across, or ten identical bands start to look printed.
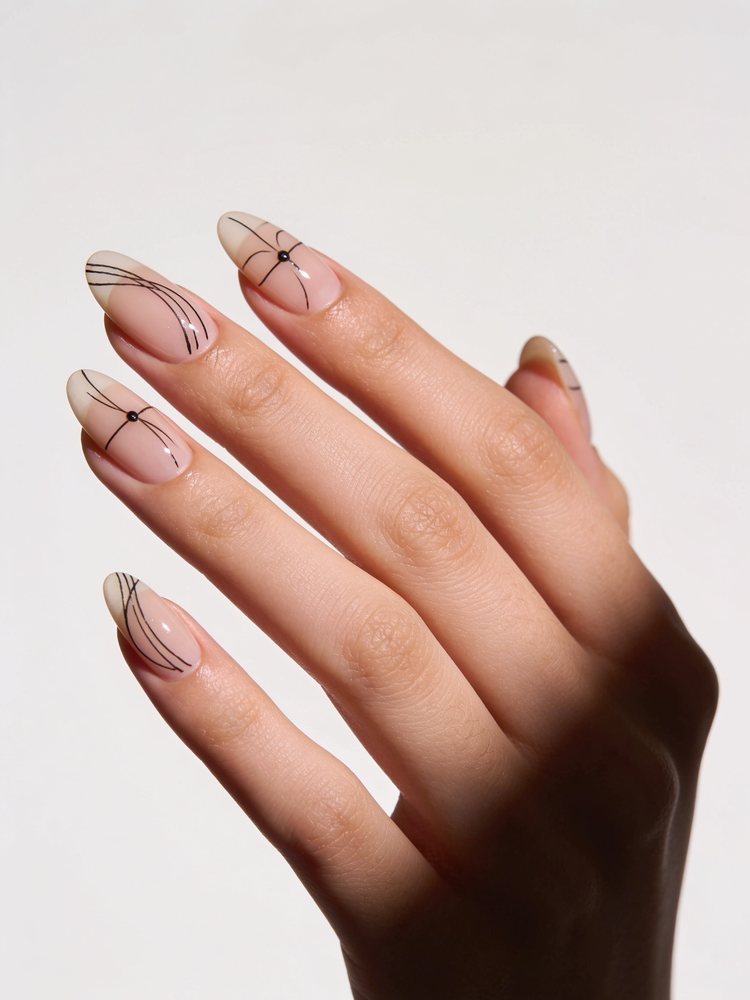
Freehand line work
Real hand-painted detail with a fine brush. This is the one where the technician matters more than the product.
Ask to see their own work rather than a reference photo before booking.
What actually makes home nail art look good
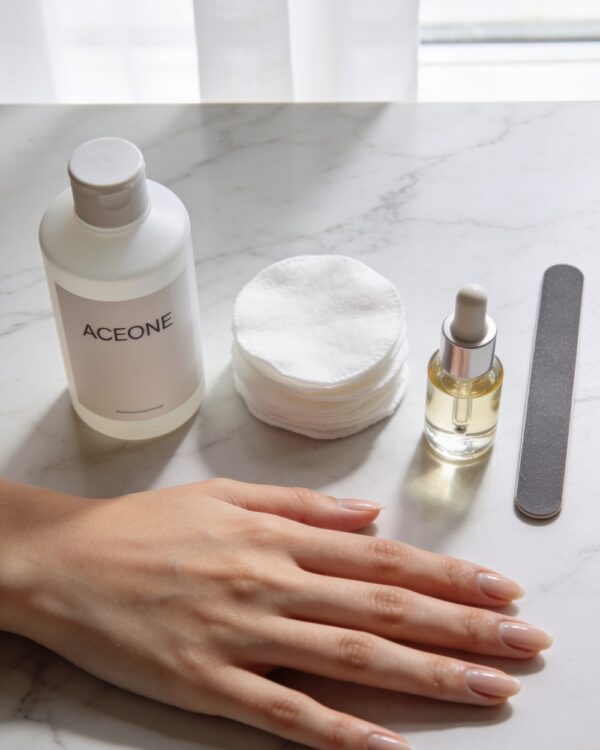
Not the design. Two things: a clean cuticle line before you start, and cleanup after. Paint over the skin freely, then take a small brush dipped in remover around each nail at the end. That single habit is most of the gap between a home manicure and a salon one.
If your nails are too short for a design you like, the shapes guide covers what each shape needs, and the ideas list has a group built specifically around short nails.
Questions people actually ask
What nail art is easiest for beginners?
Anything where tape or a tool draws the line: negative space stripes, colour blocking, half moons and dots. Freehand anything should come after those.
What do I need to start doing nail art?
A dotting tool, a fine striping brush and striping tape, which together cost under fifteen dollars. A cocktail stick and a cut-down eyeliner brush stand in for the first two.
How do I stop nail art from smudging?
Thin coats and real drying time between them. Most smudging is a thick layer that is dry on the surface and wet underneath. Quick-dry drops help; blowing on it does not.
Which nail art needs a salon?
Chrome, cat eye, velvet, blooming gel and anything encapsulated. All of them need gel product and a lamp, and chrome specifically needs a no-wipe topcoat most starter kits do not include.